
Table of Contents
Creative Ways to Use DIY Craft Self Inking Stamps for Kids
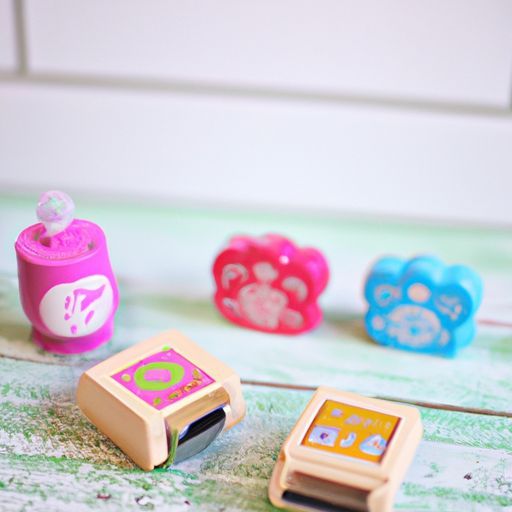
DIY craft self inking stamps are a fun and creative way for kids to express themselves through art. These stamps come in a variety of designs and can be customized to suit any child’s interests. One popular set of self inking stamps for kids is the roller stamp set, which includes three custom design stamps. In this article, we will explore some creative ways to use these DIY craft self inking stamps to inspire your child’s imagination and artistic abilities.
One of the simplest ways to use self inking stamps is to create custom Greeting Cards. Kids can use the roller stamps to add fun and colorful designs to blank cards, making each one unique and personalized. This is a great way for children to show their creativity and thoughtfulness when giving cards to friends and family.
Another fun idea is to use the self inking stamps to decorate plain gift wrap. Kids can roll the stamps along the paper to create a pattern or design, adding a special touch to any gift. This is a great way to involve children in the gift-giving process and make presents even more memorable.
Self inking stamps can also be used to create custom artwork. Kids can stamp designs onto paper or canvas to make their own unique masterpieces. This is a great way for children to experiment with different colors and patterns, and to develop their artistic skills in a fun and engaging way.
For a more interactive activity, kids can use self inking stamps to create their own storybook. They can stamp images onto pages and then write a story to go along with them. This is a great way to encourage creativity and storytelling skills, and to create a keepsake that children can cherish for years to come.
Self inking stamps can also be used to personalize everyday items. Kids can stamp their designs onto Notebooks, Pencil Cases, or even clothing to make them one-of-a-kind. This is a fun way for children to express their individuality and add a personal touch to their belongings.
In addition to these creative ideas, self inking stamps can also be used for educational purposes. Kids can use the stamps to practice spelling words, create math problems, or even learn about different animals or shapes. This hands-on approach to learning can make studying more engaging and enjoyable for children.
Overall, DIY craft self inking stamps are a versatile and fun tool for kids to explore their creativity and imagination. Whether they are making greeting cards, decorating gift wrap, creating artwork, or personalizing everyday items, there are endless possibilities for children to express themselves through these stamps. So why not pick up a set of roller stamps and let your child’s creativity run Wild? Who knows what amazing creations they will come up with!
Step-by-Step Guide to Creating Custom Design Kids Roller Stamps
Creating custom design kids roller stamps can be a fun and creative activity for children of all ages. Not only does it allow them to express their creativity, but it also provides them with a unique tool for adding personal touches to their artwork and Crafts. In this step-by-step guide, we will walk you through the process of making your own custom design kids roller stamps using a toy DIY craft self-inking stamp set.
To begin, gather all the necessary materials for this project. You will need a toy DIY craft self-inking stamp set, which typically includes a roller stamp, Ink pads, and interchangeable design plates. You will also need paper or cardstock to test out your stamps, as well as any additional supplies such as markers or Colored Pencils for decorating.
Start by selecting the design plates that you would like to use for your roller stamps. These plates typically feature various shapes, patterns, and characters that can be easily inserted into the roller stamp. Choose designs that appeal to your child’s interests and preferences, as this will make the stamping process more enjoyable for them.
Next, carefully insert the selected design plates into the roller stamp according to the manufacturer’s instructions. Make sure that the plates are securely in place to prevent them from falling out during use. Once the plates are inserted, test out the roller stamp on a piece of paper to ensure that the designs are coming out clearly and evenly.
Once you are satisfied with the results, it’s time to get creative! Encourage your child to experiment with different color combinations and patterns by using the ink pads included in the set. They can mix and match colors, layer designs, and even create their own custom designs by drawing directly onto the design plates.
As your child becomes more comfortable with using the roller stamps, they can start incorporating them into their artwork and crafts. They can use the stamps to decorate greeting cards, gift tags, wrapping paper, and more. The possibilities are endless, and the only limit is your child’s imagination.
To ensure that the roller stamps last for a long time, make sure to clean them after each use. Simply wipe off any excess ink with a damp Cloth or paper towel, and store them in a cool, dry place when not in use. This will help prevent the ink pads from drying out and the design plates from becoming damaged.
In conclusion, creating custom design kids roller stamps is a fun and engaging activity that allows children to unleash their creativity and personalize their artwork. By following this step-by-step guide and encouraging your child to experiment with different designs and colors, you can help them develop their artistic skills and create unique pieces of art that they can be proud of. So why wait? Get started on this exciting DIY project today and watch your child’s creativity soar!
