
Table of Contents
Common Issues with LCD Display Assembly and How to Fix Them
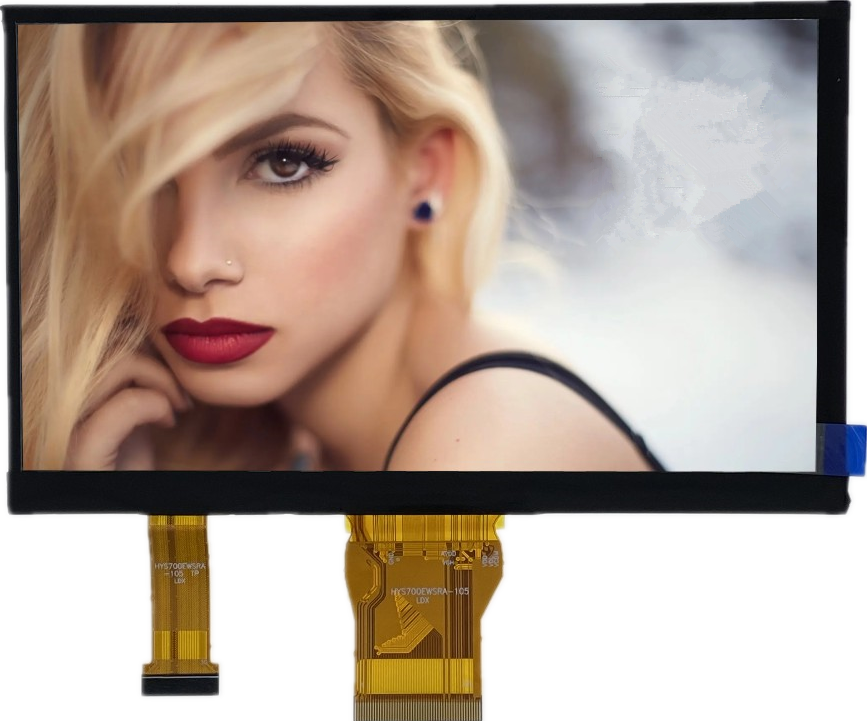
LCD display assemblies are a crucial component in many electronic devices, including smartphones, laptops, and tablets. These assemblies consist of various parts, such as the LCD screen, digitizer, backlight, and frame, all working together to provide a clear and vibrant display. However, like any other electronic component, LCD display assemblies can encounter issues that may affect their performance. In this article, we will discuss some common problems with LCD display assemblies and how to fix them.
One of the most common issues with LCD display assemblies is dead pixels. Dead pixels are individual pixels on the screen that do not light up, resulting in small black spots on the display. Dead pixels can be caused by manufacturing defects, physical damage, or age-related wear and tear. To fix dead pixels, you can try using a pixel-fixing Software that rapidly changes the colors of the affected pixels to revive them. If the dead pixels persist, you may need to replace the LCD screen or digitizer.
Another common issue with LCD display assemblies is backlight bleeding. Backlight bleeding occurs when the backlight of the display shines through the edges of the screen, creating uneven lighting and dark spots. Backlight bleeding can be caused by poor assembly, pressure on the screen, or a faulty backlight. To fix backlight bleeding, you can try adjusting the pressure on the screen by loosening the Screws on the frame. If the issue persists, you may need to replace the backlight or the entire LCD assembly.
Ghosting is another common problem with LCD display assemblies. Ghosting occurs when images or text on the screen leave a faint trail behind them, making the display appear blurry or distorted. Ghosting can be caused by slow response times, outdated drivers, or a faulty LCD screen. To fix ghosting, you can try updating the display drivers or adjusting the refresh rate of the screen. If the issue persists, you may need to replace the LCD screen or digitizer.
One more common issue with LCD display assemblies is color accuracy. Color accuracy refers to how accurately the display reproduces colors from the input source. Poor color accuracy can be caused by incorrect color settings, a faulty color profile, or a damaged LCD screen. To fix color accuracy issues, you can try calibrating the display using a color calibration tool or adjusting the color settings in the device’s settings menu. If the issue persists, you may need to replace the LCD screen or digitizer.
In conclusion, LCD display assemblies are essential components in electronic devices, but they can encounter various issues that may affect their performance. Dead pixels, backlight bleeding, ghosting, and color accuracy are some common problems with LCD display assemblies. To fix these issues, you can try using pixel-fixing software, adjusting the pressure on the screen, updating display drivers, calibrating the display, or replacing the faulty components. By addressing these common issues promptly, you can ensure that your LCD display assembly continues to provide a clear and vibrant display for years to come.
Step-by-Step Guide to Replacing LCD Display Assembly on Popular Devices
LCD display assembly is a crucial component in popular devices such as smartphones, tablets, and laptops. Over time, these displays may become damaged or malfunction, requiring replacement. In this article, we will provide a step-by-step guide on how to replace the LCD display assembly on popular devices.
The first step in replacing the LCD display assembly is to gather the necessary tools. You will need a small Phillips Screwdriver, a plastic opening tool, and a replacement LCD display assembly compatible with your device. It is important to ensure that the replacement display assembly is of high quality and compatible with your device to avoid any compatibility issues.
Once you have gathered the necessary tools and replacement display assembly, the next step is to power off your device and remove the back cover. Use the plastic opening tool to carefully pry open the back cover of your device, being mindful not to damage any internal components. Once the back cover is removed, you will have access to the internal components of your device.
The next step is to locate the LCD display assembly within your device. The display assembly is typically located near the top of the device and is connected to the motherboard via a ribbon cable. Carefully disconnect the ribbon cable from the motherboard using the plastic opening tool, being gentle to avoid damaging the cable or the connector.
After disconnecting the ribbon cable, you can now remove the screws securing the LCD display assembly to the device. Use the Phillips screwdriver to carefully remove the screws, keeping track of their placement to ensure they are reinstalled correctly during reassembly.
Once the screws are removed, gently lift the LCD display assembly from the device, being careful not to damage any other internal components. Place the old display assembly aside and take the replacement display assembly. Align the replacement display assembly with the mounting points on the device and secure it in place with the screws you removed earlier.
After securing the replacement display assembly, reconnect the ribbon cable to the motherboard using the plastic opening tool. Ensure that the cable is securely connected to avoid any display issues after reassembly.
With the replacement display assembly securely installed and the ribbon cable reconnected, you can now reattach the back cover of your device. Carefully align the cover with the device and press it into place until it Snaps securely.
Finally, power on your device to ensure that the new LCD display assembly is functioning properly. If the display is working correctly, congratulations! You have successfully replaced the LCD display assembly on your device.
In conclusion, replacing the LCD display assembly on popular devices is a straightforward process that can be done with the right tools and a bit of patience. By following this step-by-step guide, you can easily replace the display assembly on your device and restore its functionality. Remember to always use high-quality replacement parts and take care when handling internal components to avoid any damage.
