
Table of Contents
How to Install and Wire a 12V Automotive Relay With Socket
When it comes to automotive electrical systems, Relays play a crucial role in ensuring proper functionality and Safety. Among the various types of relays available, the 4 pin and 5 pin electrical car relays with sockets are commonly used in automotive applications due to their versatility and reliability. These relays are designed to control electrical circuits by using a low-power signal to switch a higher power load, making them indispensable components in modern vehicles. In this article, we will delve into the installation and wiring process of a 12V automotive relay with a socket, providing step-by-step guidance for enthusiasts and professionals alike.
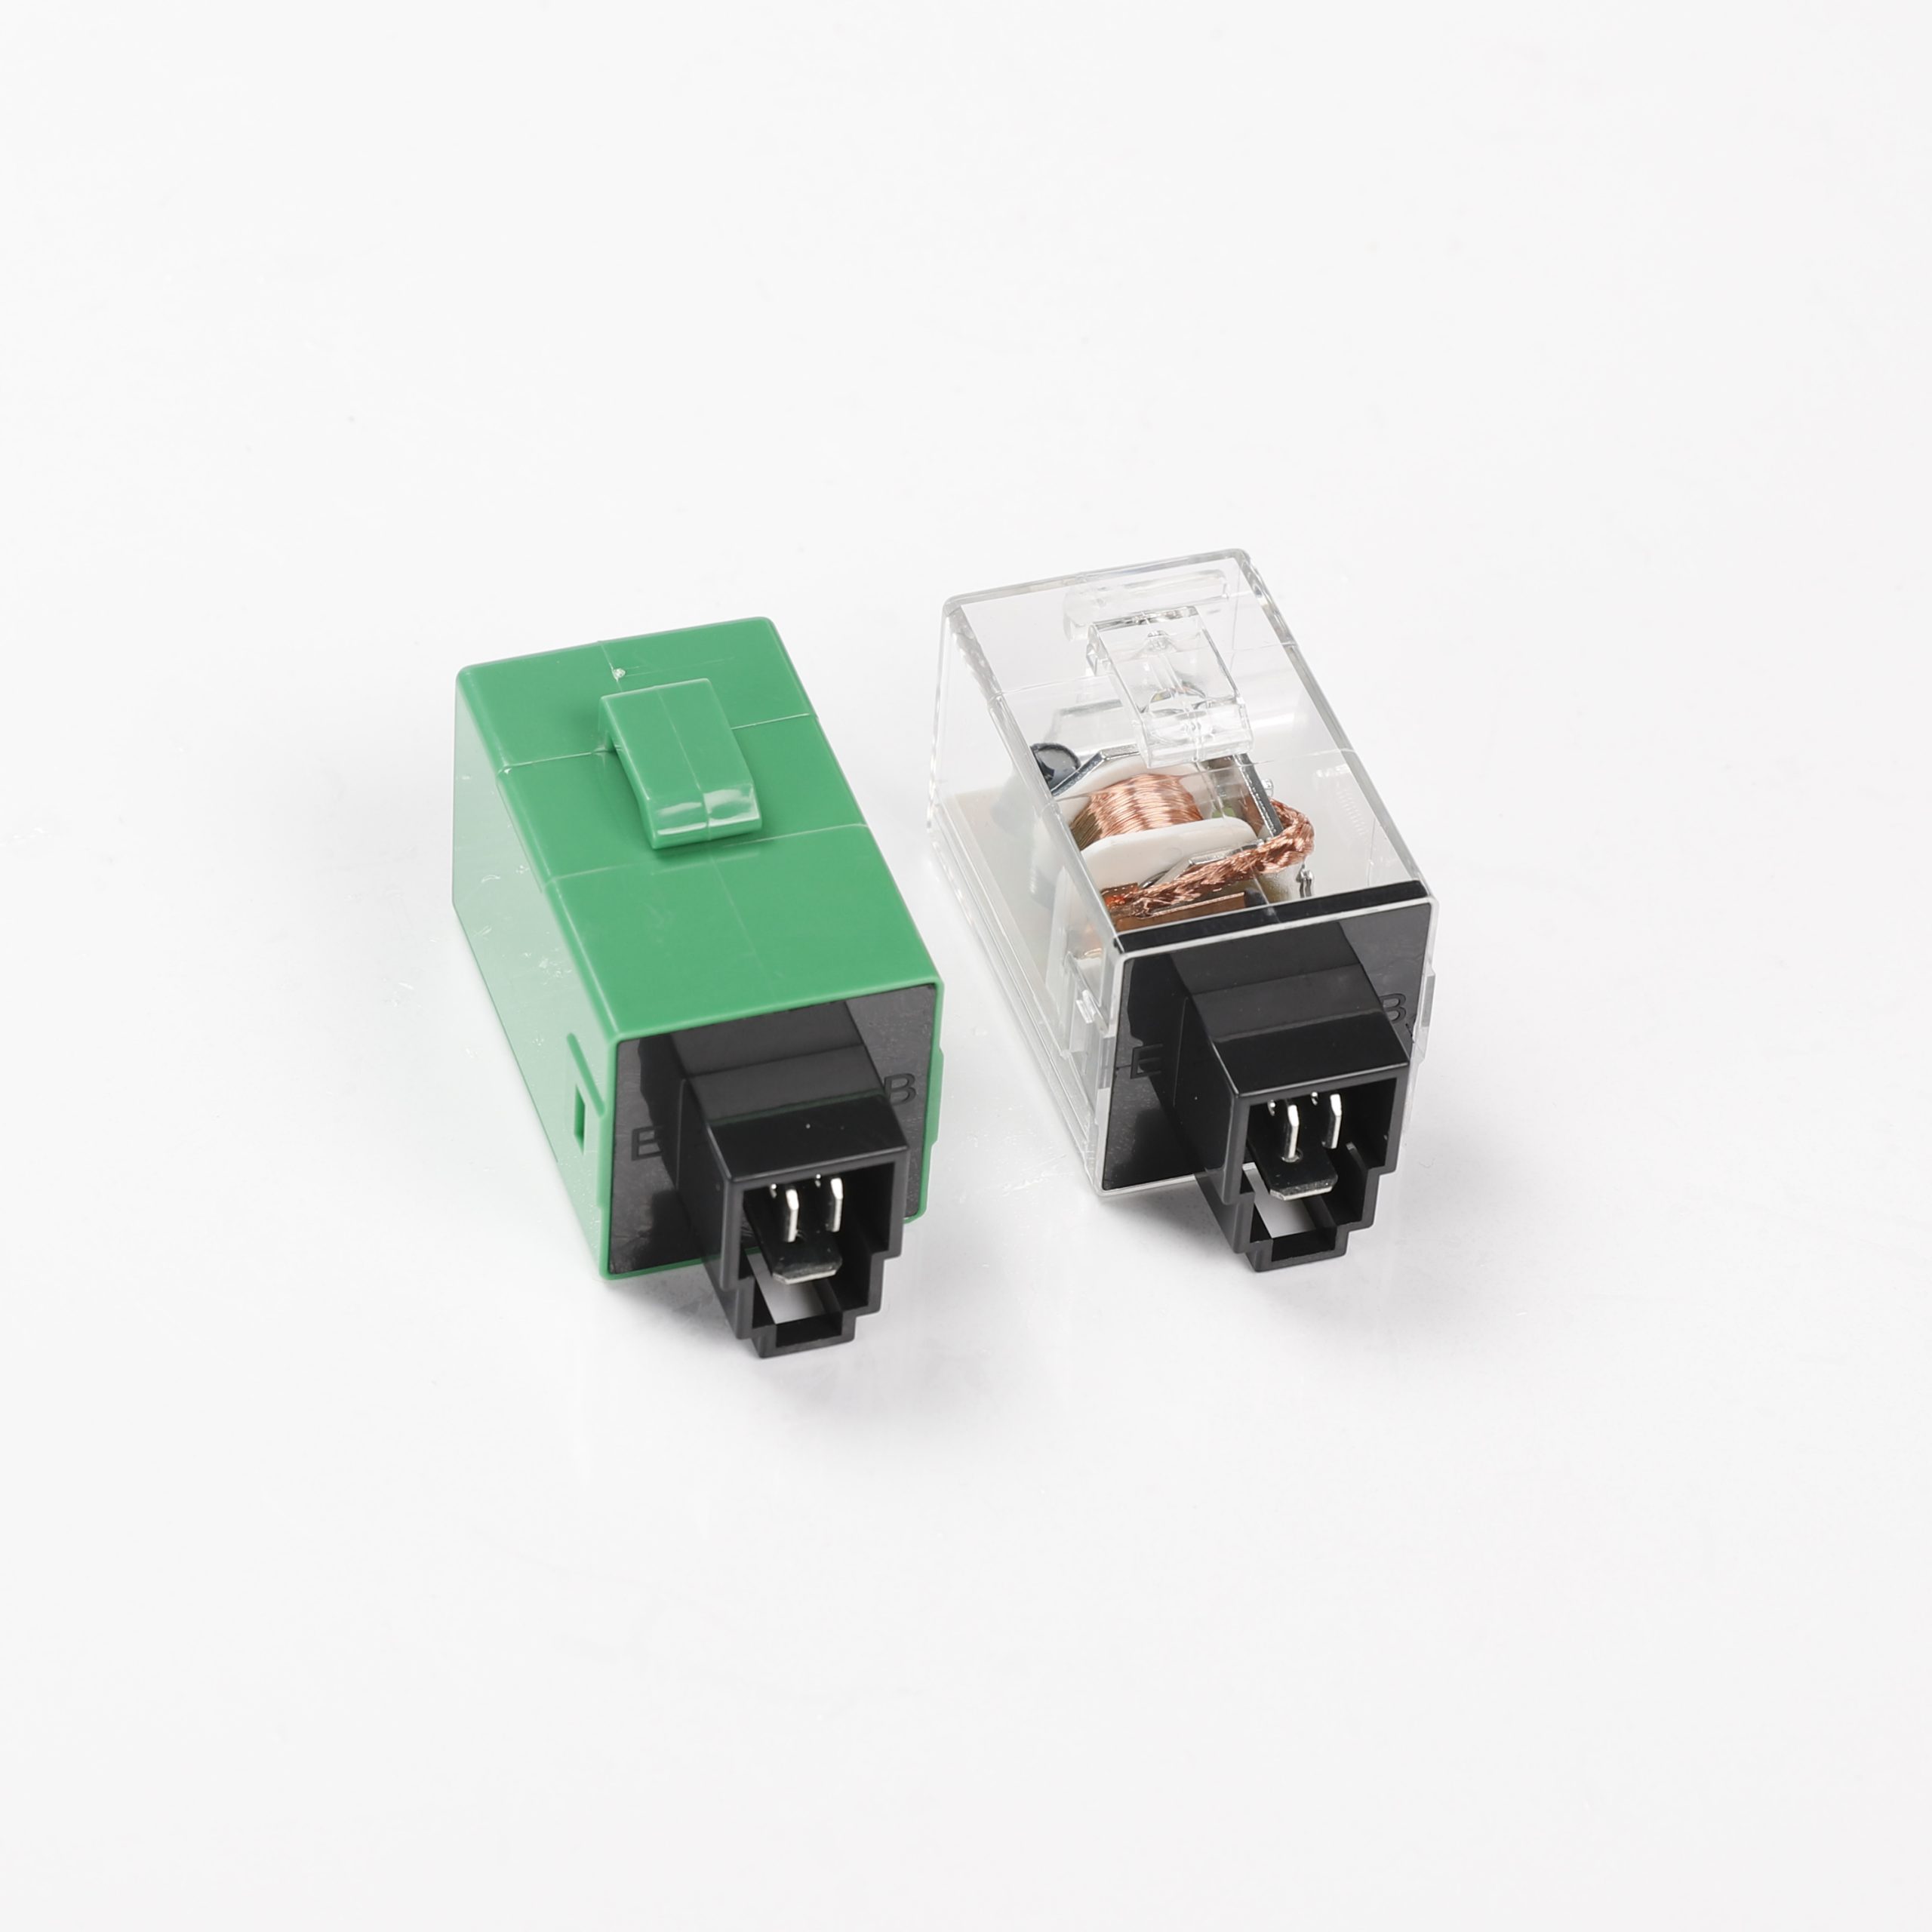
Before diving into the installation process, it is essential to understand the basic components of a 12V automotive relay with a socket. These relays typically consist of a coil, a set of contacts, and a housing. The coil is responsible for generating a magnetic field when energized, which in turn activates the contacts to complete or interrupt the circuit. The contacts, usually made of durable materials like silver alloy, can handle high current loads without overheating or arcing. The housing provides protection for the internal components and facilitates easy mounting in the vehicle.
To begin the installation process, start by identifying the appropriate location for mounting the relay and socket. It is crucial to choose a spot that is easily accessible and free from any potential sources of heat or moisture. Once the mounting location is determined, securely fasten the relay and socket using Screws or adhesive, ensuring that they are firmly in place.
Next, determine the wiring connections based on the specific requirements of your application. The 4 pin and 5 pin configurations offer different options for wiring, allowing for flexibility in circuit design. Refer to the manufacturer’s instructions or wiring diagram to identify the function of each pin and connect them accordingly.
For a 4 pin relay, the Pins are typically labeled as follows:
– Pin 30: Common (C)
– Pin 85: Coil Positive (+)
– Pin 86: Coil Negative (-)
– Pin 87: Normally Open (NO)
For a 5 pin relay, an additional pin is included:
– Pin 87a: Normally Closed (NC)
Once the pins are identified, connect the appropriate wires to each terminal using crimp Connectors or soldering, ensuring a secure and reliable connection. It is essential to double-check the wiring to avoid any potential errors that could Lead to electrical malfunctions or damage to the vehicle.
| Nr. | Product |
| 6 | Auto Relay |
After completing the wiring connections, test the relay to ensure proper functionality before finalizing the installation. Apply power to the coil Terminals (pins 85 and 86) using a suitable power source, and verify that the contacts switch as intended. Listen for the audible click of the relay engaging and visually inspect the contacts for any signs of arcing or overheating.
Once the relay is tested and confirmed to be working correctly, finalize the installation by securing any loose wires and tidying up the Wiring Harness to prevent interference or damage. Conduct a final inspection to ensure that all connections are secure and properly insulated, minimizing the risk of electrical faults or short circuits.
In conclusion, installing and wiring a 12V automotive relay with a socket is a straightforward process that can greatly enhance the functionality and reliability of your vehicle’s electrical system. By following the steps outlined in this article and paying attention to detail, you can ensure a successful installation that meets your specific requirements. Whether you’re a seasoned automotive enthusiast or a novice DIYer, mastering the art of relay installation is a valuable skill that will serve you well in maintaining and upgrading your vehicle.
