
Table of Contents
فوائد استخدام الأسلاك النحاسية في مشاريع DIY
دليل خطوة بخطوة لصنع الأسلاك النحاسية في المنزل
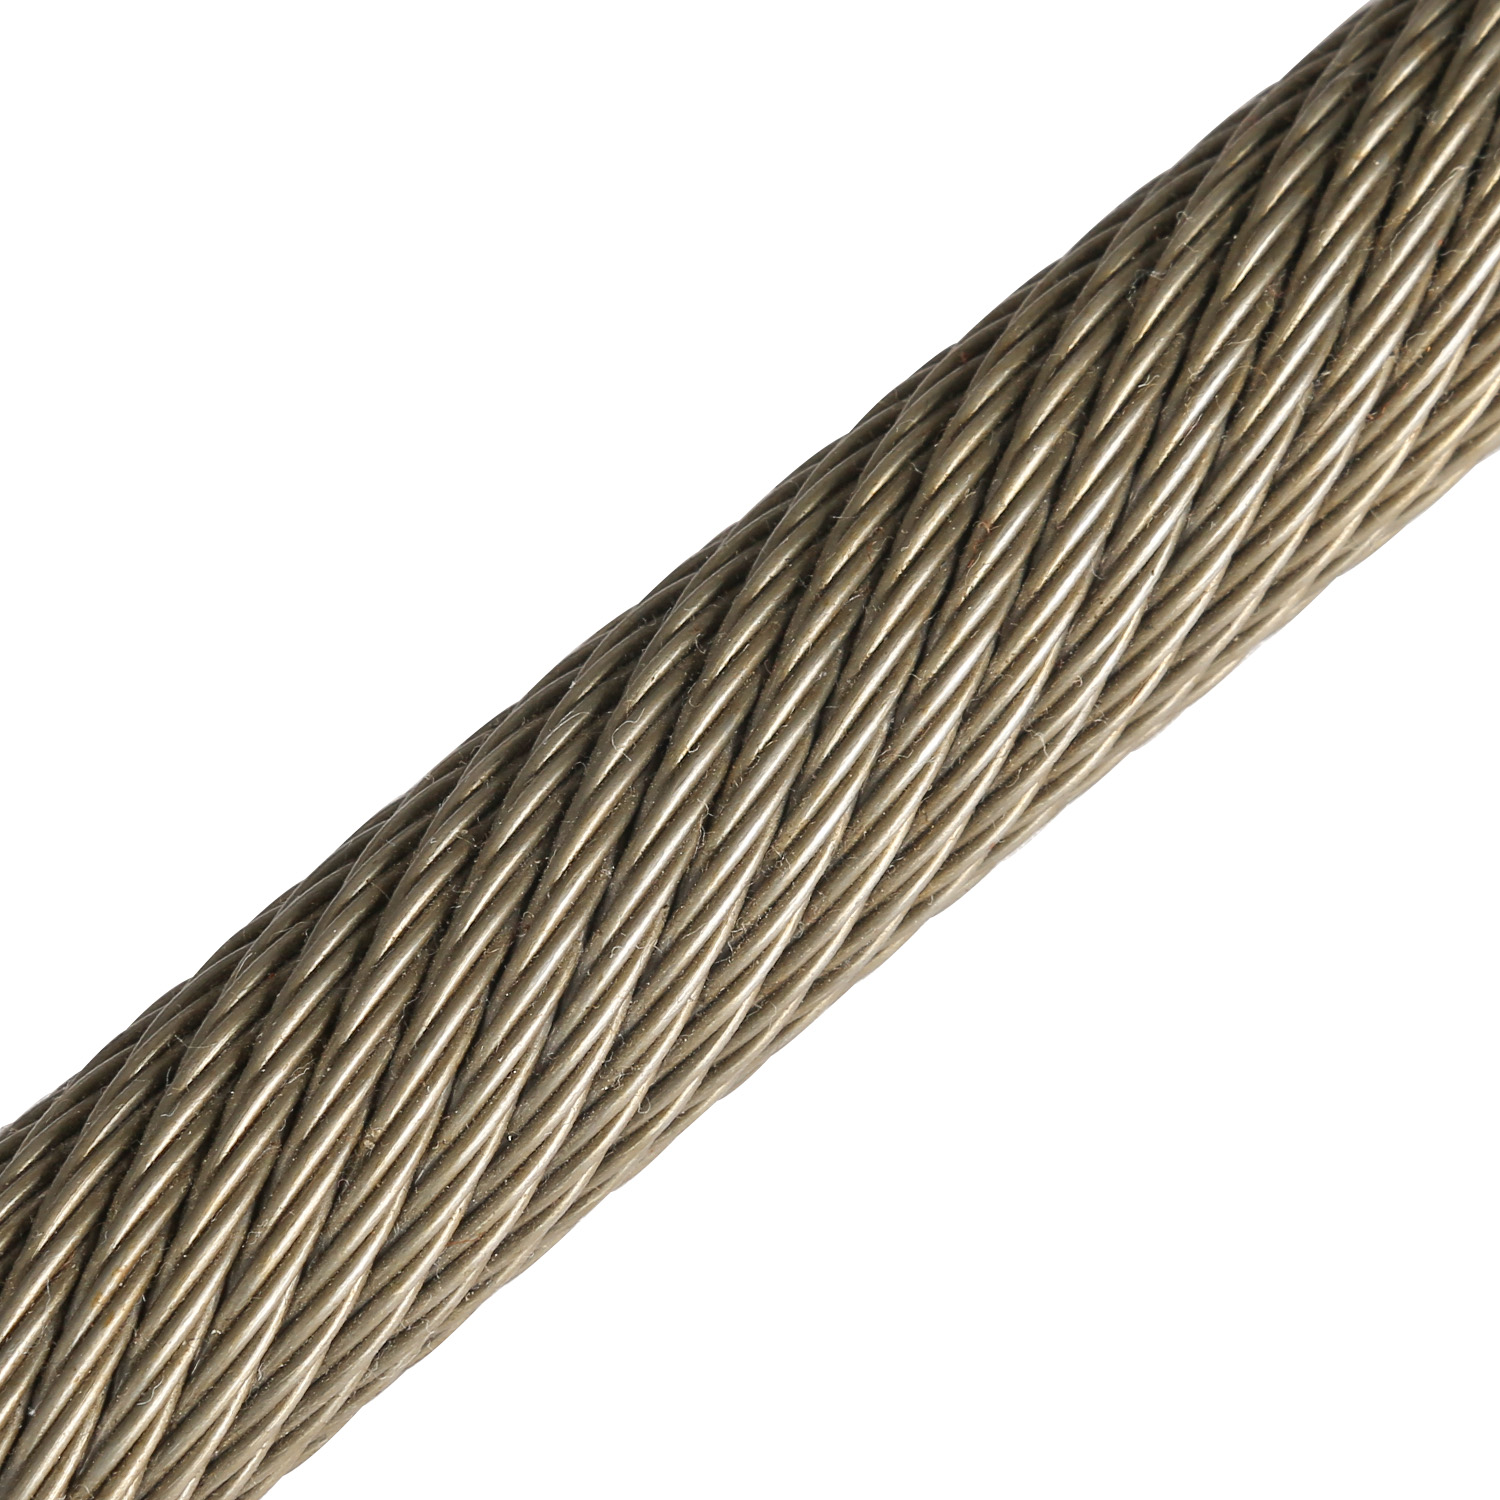
الأسلاك النحاسية عبارة عن مادة متعددة الاستخدامات تُستخدم في مجموعة واسعة من التطبيقات، بدءًا من الأسلاك الكهربائية ووصولاً إلى صناعة المجوهرات. يمكن أن يكون صنع الأسلاك النحاسية الخاصة بك في المنزل طريقة مجزية وفعالة من حيث التكلفة لإنشاء سلك مخصص لمشروعاتك. في هذا الدليل التفصيلي، سنرشدك خلال عملية صنع الأسلاك النحاسية من الصفر.
الخطوة الأولى في صنع الأسلاك النحاسية هي جمع المواد والأدوات اللازمة. سوف تحتاج إلى قضيب نحاسي، وآلة سحب الأسلاك، وفرن تلدين الأسلاك، وآلة التخزين المؤقت. يمكنك شراء هذه العناصر من متجر الأجهزة أو عبر الإنترنت، أو قد تتمكن من العثور عليها مستعملة.
بمجرد جمع المواد الخاصة بك، فإن الخطوة التالية هي إعداد القضيب النحاسي للرسم. ابدأ بتنظيف القضيب بفرشاة سلكية لإزالة أي أوساخ أو حطام. بعد ذلك، قم بصلب القضيب عن طريق تسخينه في الفرن حتى تصل درجة حرارته إلى حوالي 700 درجة مئوية. سيؤدي ذلك إلى تليين النحاس وتسهيل سحبه إلى السلك.
بعد تلدين القضيب، حان الوقت لبدء عملية السحب. أدخل أحد طرفي القضيب في آلة سحب الأسلاك وقم بتثبيته في مكانه. قم بتشغيل الآلة وقم بتغذية القضيب ببطء من خلال قالب السحب، مما سيقلل قطره تدريجيًا ويطيله إلى سلك. كرر هذه العملية عدة مرات، باستخدام قوالب أصغر في كل مرة، حتى تصل إلى السُمك المطلوب لسلكك.
بمجرد سحب السلك إلى السُمك المطلوب، فقد حان الوقت لتصلبه مرة أخرى لإزالة أي إجهاد أو إجهاد قد يسببه. ربما تكون قد تراكمت أثناء عملية الرسم. ضع السلك مرة أخرى في الفرن وقم بتسخينه إلى حوالي 500 درجة مئوية، ثم اتركه ليبرد ببطء إلى درجة حرارة الغرفة. سيساعد هذا على التأكد من أن السلك مرن وسهل العمل به.
الخطوة الأخيرة في صنع السلك النحاسي هي لفه على بكرة للتخزين والاستخدام. قم بتوصيل نهاية السلك بآلة التخزين المؤقت وابدأ في لفه على البكرة، مع التأكد من إبقاء السلك مشدودًا ومتباعدًا بشكل متساوٍ. بمجرد الانتهاء من لف السلك بالكامل، قم بقصه من القضيب وتأمين النهاية لمنعه من الانهيار.
تهانينا، لقد نجحت في صنع السلك النحاسي الخاص بك! مع القليل من الممارسة والصبر، يمكنك إنشاء سلك مخصص لجميع مشاريعك، سواء كنت هاويًا أو محترفًا. قم بتجربة سُمك وتشطيبات مختلفة للحصول على السلك المثالي الذي يلبي احتياجاتك.
في الختام، يعد صنع الأسلاك النحاسية في المنزل عملية ممتعة ومجزية تسمح لك بإنشاء سلك مخصص لمجموعة متنوعة من التطبيقات. باتباع هذا الدليل التفصيلي، يمكنك تعلم كيفية رسم وتصلب الأسلاك النحاسية بسهولة. فلماذا لا تجربها وترى ما يمكنك صنعه باستخدام الأسلاك النحاسية محلية الصنع؟
Step-by-Step Guide to Making Copper Wire at Home
Copper wire is a versatile material that is used in a wide range of applications, from electrical wiring to Jewelry making. Making your own copper wire at home can be a rewarding and cost-effective way to create custom wire for your projects. In this step-by-step guide, we will walk you through the process of making copper wire from scratch.
The first step in making copper wire is to gather the necessary materials and tools. You will need a copper rod, a wire drawing machine, a wire annealing furnace, and a spooling machine. You can purchase these items from a Hardware store or online, or you may be able to find them second-hand.
Once you have gathered your materials, the next step is to prepare the copper rod for drawing. Start by cleaning the rod with a wire brush to remove any dirt or debris. Next, anneal the rod by heating it in the furnace until it reaches a temperature of around 700 degrees Celsius. This will soften the copper and make it easier to draw into wire.
After annealing the rod, it is time to start the drawing process. Insert one end of the rod into the wire drawing machine and secure it in place. Turn on the machine and slowly feed the rod through the drawing die, which will gradually reduce its diameter and lengthen it into wire. Repeat this process several times, using smaller dies each time, until you have reached the desired thickness for your wire.
Once you have drawn the wire to the desired thickness, it is time to anneal it again to remove any stress or strain that may have built up during the drawing process. Place the wire back into the furnace and heat it to around 500 degrees Celsius, then allow it to cool slowly to room temperature. This will help to ensure that the wire is flexible and easy to work with.
The final step in making copper wire is to spool it onto a reel for storage and use. Attach the end of the wire to the spooling machine and start winding it onto the reel, making sure to keep the wire taut and evenly spaced. Once you have spooled the entire length of wire, cut it from the rod and secure the end to prevent it from unraveling.
Congratulations, you have successfully made your own copper wire! With a little practice and patience, you can create custom wire for all of your projects, whether you are a hobbyist or a professional. Experiment with different thicknesses and finishes to achieve the perfect wire for your needs.
In conclusion, making copper wire at home is a fun and rewarding process that allows you to create custom wire for a variety of applications. By following this step-by-step guide, you can learn how to draw and anneal copper wire with ease. So why not give it a try and see what you can create with your homemade copper wire?
