
Table of Contents
Benefits of Using Copper Wire in DIY Projects
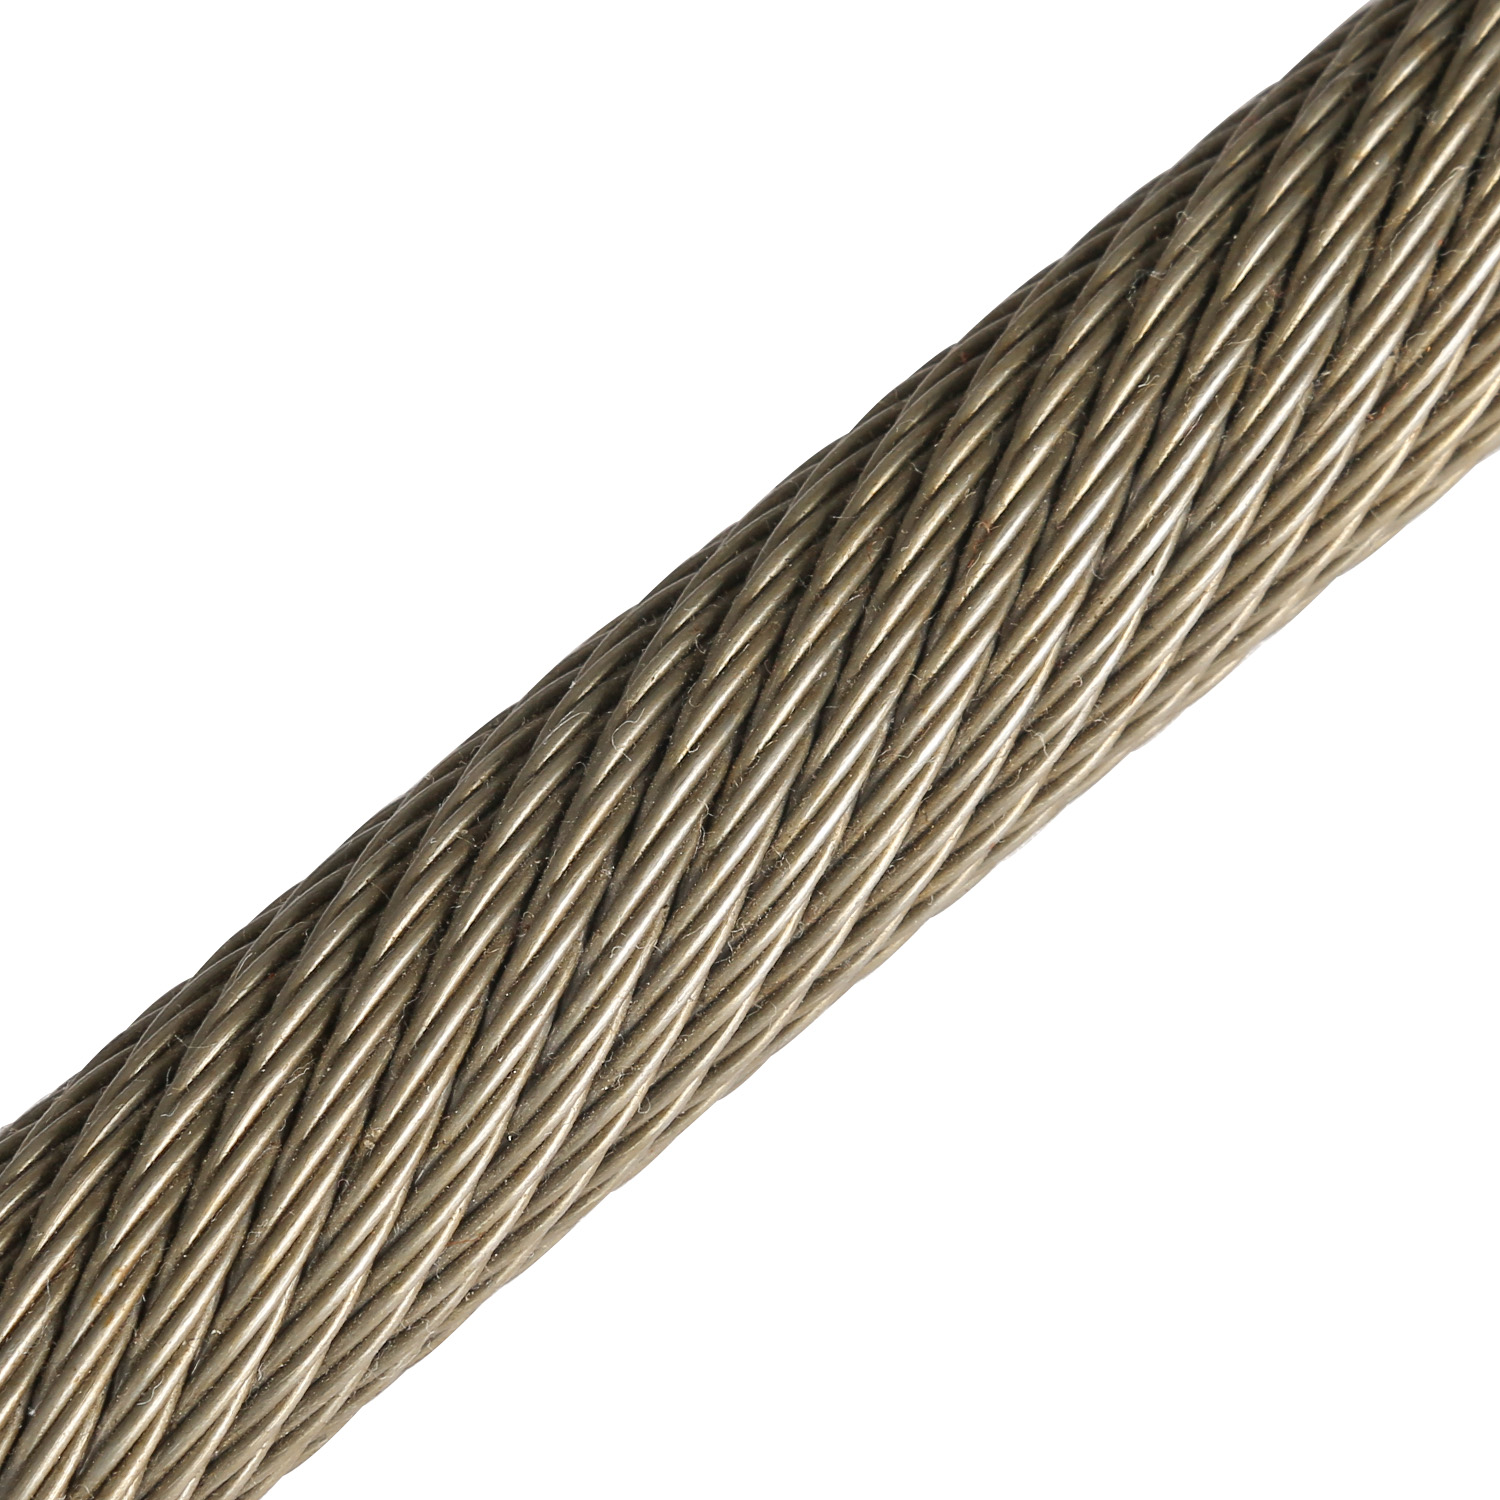
Copper wire is a versatile material that is commonly used in DIY projects due to its conductivity, durability, and malleability. Whether you are a seasoned DIY enthusiast or just starting out, incorporating copper wire into your projects can add a touch of elegance and functionality. In this article, we will explore the benefits of using copper wire in DIY projects and provide a step-by-step guide on how to make your own copper wire.
One of the main advantages of using copper wire in DIY projects is its excellent conductivity. Copper is one of the best conductors of electricity, making it ideal for wiring applications. Whether you are creating a simple circuit or a more complex electrical system, copper wire ensures that electricity flows smoothly and efficiently. This is especially important in projects that require precision and reliability, such as electronics or lighting fixtures.
In addition to its conductivity, copper wire is also highly durable. Unlike other materials that may corrode or degrade over time, copper wire is resistant to rust and corrosion, making it a long-lasting option for DIY projects. This durability ensures that your creations will stand the test of time and continue to function properly for years to come.
Furthermore, copper wire is incredibly malleable, allowing you to easily bend, twist, and shape it to fit your specific project needs. Whether you are creating intricate Jewelry designs or constructing a sturdy frame for a sculpture, copper wire can be manipulated into various shapes and sizes without losing its structural integrity. This flexibility makes copper wire a versatile material that can be used in a wide range of DIY projects.
Now that we have explored the benefits of using copper wire in DIY projects, let’s discuss how you can make your own copper wire. To begin, you will need a copper rod or wire stock, a wire cutter, and a wire straightener. Start by cutting the copper rod into the desired length using the wire cutter. Next, use the wire straightener to remove any kinks or bends in the wire, ensuring a smooth and even surface.
Once you have prepared the copper wire, you can begin shaping it to fit your project requirements. Whether you are creating intricate designs or simple structures, take your time to carefully bend and twist the wire to achieve the desired shape. Remember to wear protective gloves to prevent any injuries while working with the sharp edges of the wire.
After you have completed your project, you can further enhance the appearance of the copper wire by applying a protective coating or polish. This will not only add a layer of protection against corrosion but also give the wire a shiny and professional finish. Whether you are creating jewelry, sculptures, or decorative accents, the possibilities are endless when working with copper wire.
In conclusion, using copper wire in DIY projects offers a wide range of benefits, including excellent conductivity, durability, and malleability. By following the steps outlined in this article, you can easily make your own copper wire and incorporate it into your creations. Whether you are a beginner or experienced DIY enthusiast, experimenting with copper wire can add a unique and elegant touch to your projects.
Step-by-Step Guide to Making Copper Wire at Home
Copper wire is a versatile material that is used in a wide range of applications, from electrical wiring to jewelry making. Making your own copper wire at home can be a rewarding and cost-effective way to create custom wire for your projects. In this step-by-step guide, we will walk you through the process of making copper wire from scratch.
The first step in making copper wire is to gather the necessary materials and tools. You will need a copper rod, a wire drawing machine, a wire annealing furnace, and a spooling machine. You can purchase these items from a Hardware store or online, or you may be able to find them second-hand.
Once you have gathered your materials, the next step is to prepare the copper rod for drawing. Start by cleaning the rod with a wire brush to remove any dirt or debris. Next, anneal the rod by heating it in the furnace until it reaches a temperature of around 700 degrees Celsius. This will soften the copper and make it easier to draw into wire.
After annealing the rod, it is time to start the drawing process. Insert one end of the rod into the wire drawing machine and secure it in place. Turn on the machine and slowly feed the rod through the drawing die, which will gradually reduce its diameter and lengthen it into wire. Repeat this process several times, using smaller dies each time, until you have reached the desired thickness for your wire.
Once you have drawn the wire to the desired thickness, it is time to anneal it again to remove any stress or strain that may have built up during the drawing process. Place the wire back into the furnace and heat it to around 500 degrees Celsius, then allow it to cool slowly to room temperature. This will help to ensure that the wire is flexible and easy to work with.
The final step in making copper wire is to spool it onto a reel for storage and use. Attach the end of the wire to the spooling machine and start winding it onto the reel, making sure to keep the wire taut and evenly spaced. Once you have spooled the entire length of wire, cut it from the rod and secure the end to prevent it from unraveling.
Congratulations, you have successfully made your own copper wire! With a little practice and patience, you can create custom wire for all of your projects, whether you are a hobbyist or a professional. Experiment with different thicknesses and finishes to achieve the perfect wire for your needs.
In conclusion, making copper wire at home is a fun and rewarding process that allows you to create custom wire for a variety of applications. By following this step-by-step guide, you can learn how to draw and anneal copper wire with ease. So why not give it a try and see what you can create with your homemade copper wire?
